
Preserving bait by vacuum sealing can make your baits last longer and fresher for future use! Brooke Frecklington takes us through the process.
Experienced anglers take their bait very seriously. Live bait is best when available, but fresh dead bait is the cheapest and most accessible. Here in Vanuatu, we try our best to catch bait the day before we head out for a session with guests to keep them as fresh as possible.
But most of the time, baitfish won’t cooperate and if we don’t prepare beforehand, we won’t have any bait for our guests to use come fishing day. So when baitfish are plentiful, we make the most of the opportunity and fill our bait wells, then preserve them by sealing them in bags before freezing.
Brooke Frecklington shows us how she prepares and preserves her baits for future use and to avoid wastage. In this video, Brooke stocks up on Bonito, which is one of the best baits around. Brooke preserves her bait in 2 ways. Vacuum sealing them with her vacuum sealing machine, and salt brining.
What is vacuum sealing?
Vacuum sealing can extend the shelf life of different food items for weeks or even months. Vacuum sealing preserves the food items by removing all oxygen inside the bag, sealing it, and effectively blocking oxygen from re-entering the bag. This is very important as it is the oxygen that causes food items to decompose and rot. Meats and fish when sealed properly can last for up to 2 or more years when kept frozen!
Let’s check out how Brooke preserves her bait for the best results.
What you’ll need
- Vacuum sealer machine
- Vacuum seal bags in precut pieces or rolls
- A pair of scissors
- Paper towels
- Permanent marker
Preparation
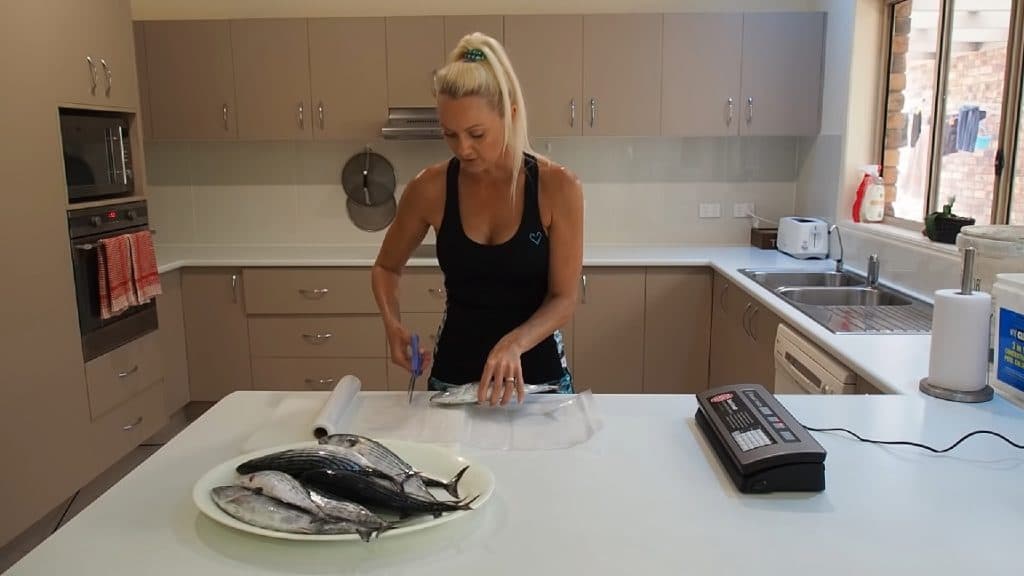
- Cut your bait to your preference. Strips or butterflied or kept whole.
- Measure and cut your vacuum seal bags according to the length of your baits, and remember to leave a bit more bag to seal at both ends.
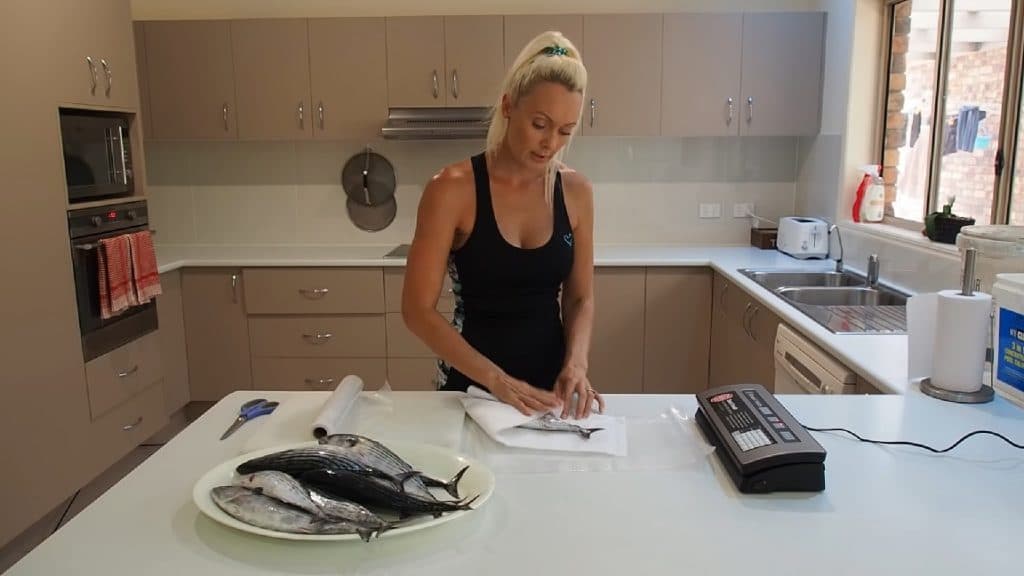
- Dry your baits as much as you can with paper towels. The drier the fish, the better they preserve. This also prevents damaging the machine from moisture penetrating the machine.
Procedure
- Seal one end of your vacuum seal bag roll and cut to the desired length.
- Place your bait inside the bag, maximizing the space without filling it up too much. A gap between baits is ideal to keep them separated from each other.
- Place the open end of the vacuum seal bag into the vacuum sealer and close.
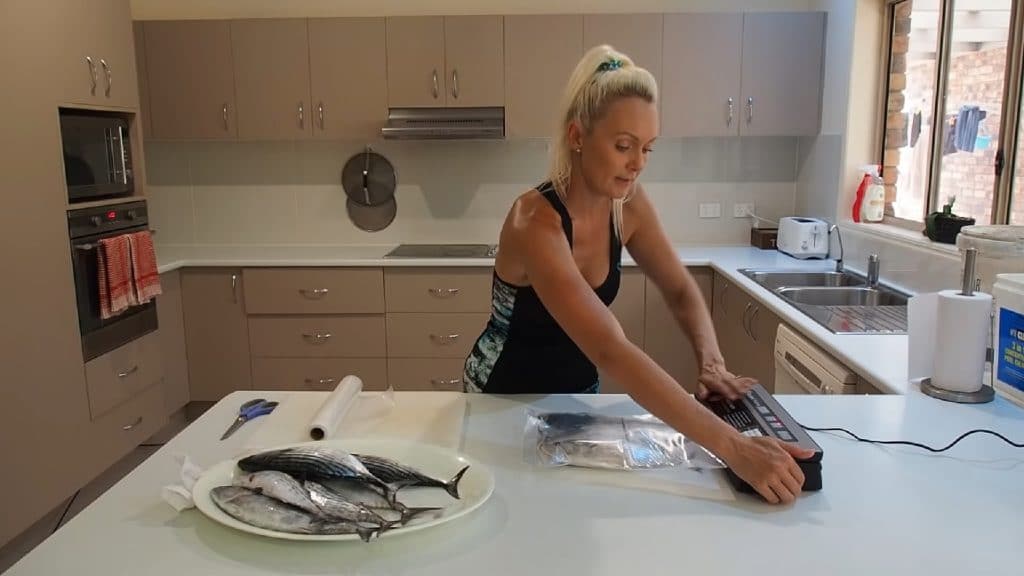
- Select “Moist mode” and watch the magic happen.
- Select the “Dry mode” only if you’ve removed the moisture as much as possible or after salt brining your bait. This will create a stronger vacuum thus removing almost all oxygen in the bag, making for more effective preservation.
- Once the indication lights signal the end of the process, open your machine and admire your good work!
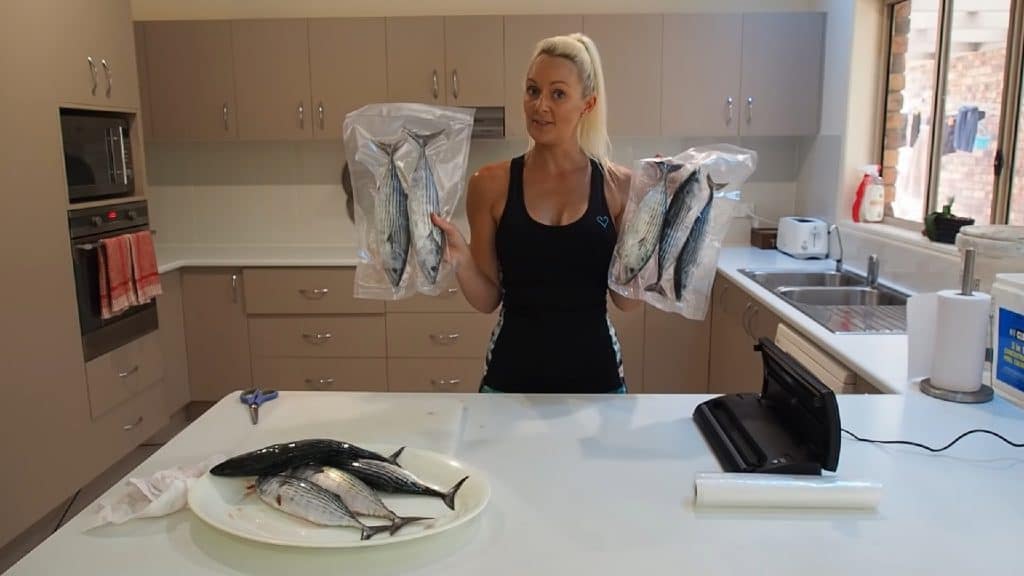
- Optional: Use your permanent marker to label the bags with the date of preparation and the kind of bait in the bag.
Salt Brining
For drier and tougher baits that will last significantly longer, you’d want to salt your baits for at least 24 hours.
- Use a container that has a cover.
- Place a nice solid layer of salt on the bottom for the baits to rest on.
- Place your first layer of baits on the salt and cover with another layer of salt.
- Repeat until all baits are covered with salt.
- Keep the container covered for at least 24 hours in a cool and dry area.
- After 24 hours, open the container and shake off the excess salt on your baits.
- Seal the salted baits by following the procedure above.
Last Cast
As much as we want to have live bait, mother nature will want to keep everything balanced, and we won’t get to have live bait when we want to. But we can prolong the life of whatever fish we catch and use them as bait. Or if possible, stock up on baits when you get the chance and preserve them. With vacuum sealers readily available almost at every home appliance store and even online, keeping baits fresh has never been easier. Do yourselves a favor and get yourself a vacuum sealer if you don’t own one yet. It will make bait and food preservation easier with less mess.


